

2.1 Found Sound Drums
Recording adds a human element to your music. When something makes sound, the air vibrates; a microphone captures those vibrations; and an audio interface converts them into a digital signal your computer can store. A good recording is clean and tells a story.
Terms
Audio interface: A piece of hardware that acts like a translator, converting sound into a form your computer can understand (and vice versa).
Signal-to-noise ratio: The level of the recorded sound (signal) compared to the level of background noise (noise). A higher ratio means a cleaner recording.

1 | Recording Setup
Check to make sure the correct audio input is selected, get a good level, arm the track, and set a count in. Create a test recording to test your environment.

2 | Recording Prep
Figure out what sounds you will use for the kick, snare, closed hat, crash, percussion, and drum fill.

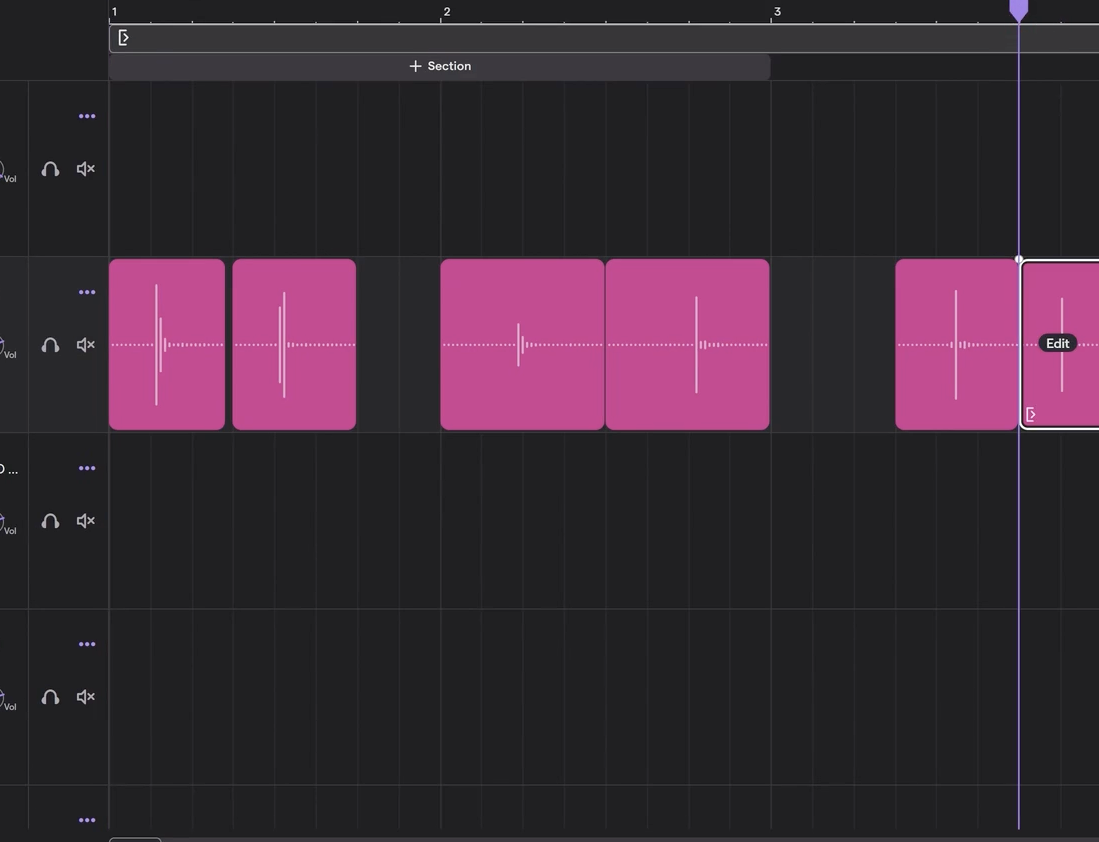
3 | Record Kick
Record the kick drum sound using a few different variations. Find the best version, cut it, and pitch it down.
4 | Record The Rest
Practice and record the sounds for the other tracks. Cut and shape the rest of the sounds to make them feel like real instruments.

5 | Add OneShots To Library
Name the sounds and add them to the loop library as oneshots.

6 | Arrange Drums Part 1
Add the kick on beat one and the snare on two and four. Set the grid to 16th notes, then add the other kicks and closed hi-hats.
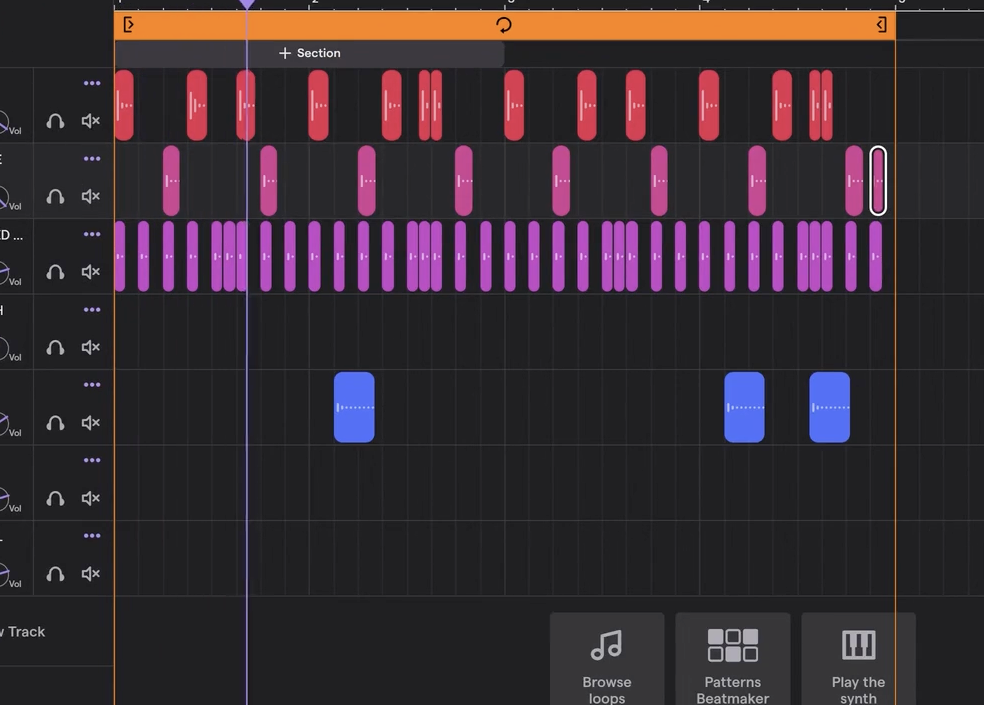
7 | Arranging Drums Part 2
Use repetition and variation to make the drums more interesting. Extend the pattern to two bars, then four bars, making changes along the way.

8 | Merge Tracks
Copy your four-bar phrase to complete the eight-bar loop. Add a big change at the end along with a drum fill. When you’re finished, merge the tracks.

9 | Add Vocals
Create a vocal hook that is 2–4 bars long. Set up your recording, arm the track, and practice your vocal performance.

10 | Shape Vocals
Record multiple takes of your vocal. Choose the best one, trim it, and move it to the beginning of the project. Clean up the audio, loop it, and mix.